
Insulation testers are essential tools for electricians, engineers, and maintenance teams. They ensure that electrical systems remain safe, efficient, and compliant with industry standards. In this guide, we’ll walk through five key aspects of insulation testing—from what it is, how to choose, how to use, how to interpret results, and what to do when problems arise.
What Is an Insulation Tester?
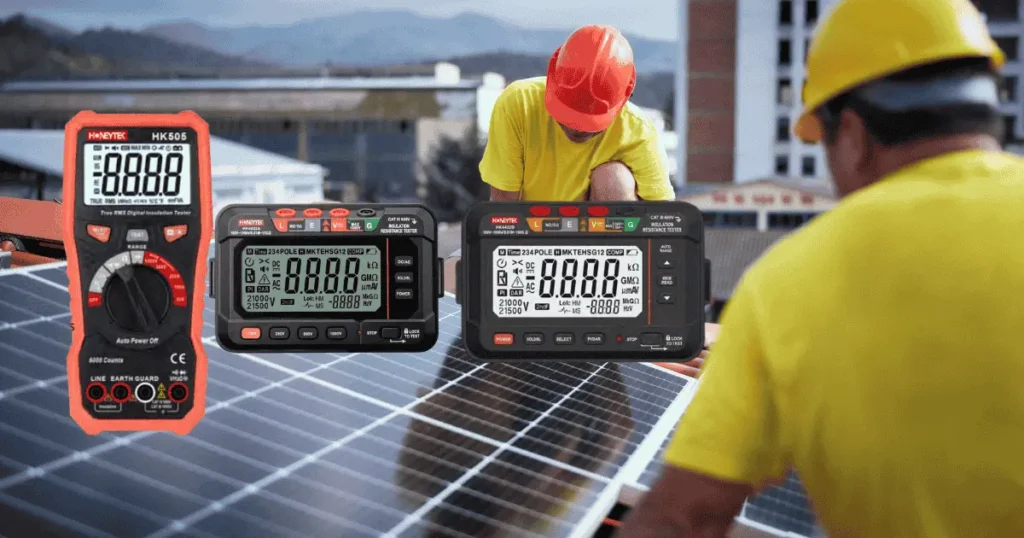
An insulation tester (often called a “megohmmeter” or “megger”) is a device that measures the resistance of electrical insulation.
Basic Principle
- The tester applies a high DC voltage (typically 100V–2500V) across insulation materials.
- It measures the leakage current that flows through the insulation.
- Using Ohm’s Law, it calculates the insulation resistance in megaohms (MΩ) or gigaohms (GΩ).
Why It Matters
Proper insulation ensures that current flows only where it should. Weak or deteriorated insulation may lead to:
- Electrical shocks
- Equipment damage
- Fire hazards
- Energy inefficiency
How to Select an Insulation Tester
Choosing the right insulation tester depends on brand, budget, and functionality.
1. Brand Comparison
- Honeytek: Known for high-accuracy portable testers (e.g., A4430 and A4431), widely used in maintenance and industrial fields.
- Fluke: Premium choice, strong reputation, but often at higher price points.
- Megger: Specializes in insulation resistance testing, robust build, popular worldwide.
2. Price Considerations
- Entry-level models: Affordable, suitable for home and light commercial use.
- Professional models: Higher cost, but offer extended ranges, multiple test voltages, and advanced functions.
3. Feature Needs
- Range Selection: Auto vs. manual
- Test Voltage Levels: 100V to 2500V depending on application
- Data Logging: For long-term maintenance records
- Portability: Lightweight and battery-powered for field use
Tip: If you need general-purpose testing, Honeytek A4430 with auto range selection is ideal. For high-precision professional testing, Honeytek A4431 with manual control offers better accuracy.

How to Use an Insulation Tester
Using an insulation tester requires careful attention to safety and proper connection.
Step-by-Step Operation
- Preparation
- Ensure the equipment is powered off and discharged.
- Connect the test leads: one to the conductor, the other to the ground or opposite end.
- Set Test Voltage
- For low-voltage circuits: 250V
- For motors, transformers: 500V–1000V
- For high-voltage equipment: 2500V
- Run the Test
- Press the “Test” button to apply voltage.
- Read the insulation resistance on the display.
- Record the Results
- Compare with manufacturer standards or safety guidelines.
Applications in Different Equipment
- Motors: Identify winding insulation quality.
- Cables: Check long-distance insulation integrity.
- Transformers: Ensure dielectric strength.
- Switchgear: Verify insulation before energizing.
How to Interpret Test Data
Understanding insulation test results is key to decision-making.
Basic Interpretation
- >100MΩ: Generally good insulation
- 1MΩ–100MΩ: Monitor regularly, possible aging
- <1MΩ: Likely insulation failure, unsafe
Advanced Ratios: PI & DAR
- Polarization Index (PI): Ratio of 10-minute to 1-minute insulation resistance.
- PI ≥ 2.0 → Excellent insulation
- PI 1.0–2.0 → Acceptable but monitor
- PI < 1.0 → Poor insulation, risk of failure
- Dielectric Absorption Ratio (DAR): Ratio of 60-second to 30-second insulation resistance.
- DAR ≥ 1.4 → Good
- DAR < 1.25 → Weak insulation
Troubleshooting Common Testing Issues
Even with high-quality testers, challenges may occur.
Problem 1: Fluctuating Readings
Cause: Moisture in insulation or test lead issues
Solution: Dry the equipment, replace leads, and retest.
Problem 2: Very Low Resistance Value
Cause: Damaged insulation or contamination
Solution: Clean or repair equipment before energizing.
Problem 3: No Reading on Display
Cause: Dead batteries or incorrect connections
Solution: Replace batteries, check polarity and connections.
Problem 4: Over-Range Reading
Cause: Insulation is extremely good or open circuit
Solution: Confirm wiring, use correct test voltage.
Frequently Asked Questions (FAQ)
Q1: How often should insulation testing be performed?
At least once a year for critical equipment, or more frequently in harsh environments.
Q2: Can insulation testers be used on live circuits?
No, they must only be used on de-energized equipment to avoid damage and safety hazards.
Q3: What is the difference between DAR and PI?
DAR evaluates short-term absorption properties, while PI gives a long-term measure of insulation quality.
Q4: Is a higher test voltage always better?
Not necessarily. Use the voltage level appropriate for the equipment rating to avoid insulation stress.
Q5: Which Honeytek model should I buy?
- A4430: Auto range, up to 20GΩ, suitable for general use.
- A4431: Manual range, high precision, ideal for professional and industrial applications.
Conclusion
Insulation testers are indispensable for ensuring electrical safety, reliability, and efficiency. By understanding what they are, how to select the right model, how to use them, how to interpret results, and how to troubleshoot issues, you can keep your systems running smoothly and avoid costly downtime.
Looking for a trusted insulation tester? Explore Honeytek’s professional insulation tester series, including the A4430 and A4431, designed for accuracy, portability, and durability.
Contact Honeytek today to request a demo or distributor information, and upgrade your electrical testing toolkit with a brand trusted by professionals worldwide.
